Hand-made leather handbags is how LPDstudios started and still remains my first creative love. My leather handbags are the most labor intensive product I make, but with each step of the process, I use my imagination to create a one of a kind piece for each customer.
Today's handbag is for a very special customer, The Association of Faculty and Friends (AFF) of the Penn State Milton S. Hershey Medical Center and Penn State College of Medicine. The AFF is a non-profit organization with a mission to support and promote medical education, research, clinical care and scholarship in the Hershey Pennsylvania community. Through major fund raising activities, the AFF raises money to support their mission, and my very own LPDstudios purse will be going to this year's annual Spring Luncheon and Fashion Show auction.
My handbags start as just a roll of leather, and I am inspired by all types of leather! Colorful, earthy, textured, smooth, I love them all. For the AFF auction piece, I chose this fantastic orange leather that just sings happiness and energy. I wanted to present a bag to the AFF that will bring sunshine and joy to the new owner.

I create my own patterns, which outlines the measurements of each handbag component, including sides, base, handles and design motifs.

Using my pattern, I hand cut each component using pinking shears, which gives the leather a unique binding and finish.

Part of my pattern is mapping out the distance between the punched thread holes. This measurement is key in ensuring the bag construction is durable and strong for years to come.


After all of my components are cut and punched with thread holes, I can now begin assembly using leather needles and sewing awl thread.

This is the part that takes patience, and strong hands to stitch, stitch and stitch each component together.


All of my leather handbags have an inner pocket for all of the little things that seem to gather in our handbags :)

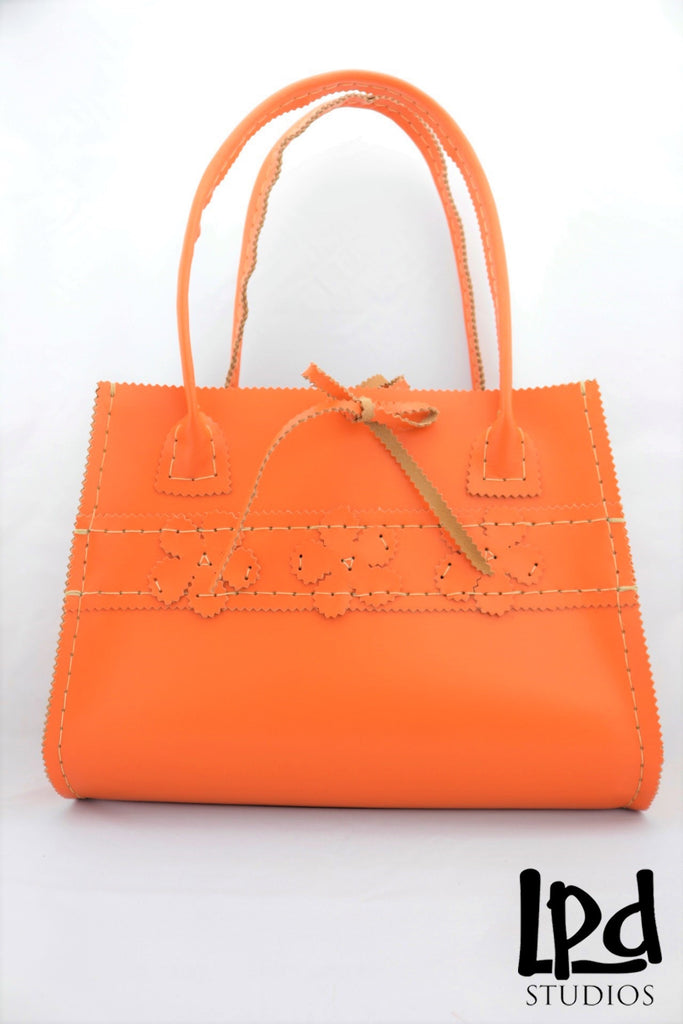
Here is the finished product!! A one of a kind authentic mandarin orange leather handbag with flower motifs. It will brighten everyone's day!

Come stop by LPDstudios for more of my unique leather handbags! And please check out AFF's mission and if you feel inspired to give, donations here are always welcome.

