December 12, 2016
Behind the Scenes: Leather and Copper Cuffs
From start to finish, my leather and copper cuffs are labor intensive, but so worth the work! Here is a behind the scenes look at my creative process to make these unique pieces:
I start by cutting copper metal in the size and shape I want for the cuff.

Then I snip and sand for rounder and smoother edges.

Next is the really fun part! I distress the copper metal using various hand tools, as well as my rolling mill to impress texture into the surface of the metal.

Here you can see how the copper metal looks after it has been through the metal rollers.

Next step, I cut a leather strip, slightly smaller than the size of the metal cuff, and cut out a unique design using sharp tools for precise lines. I also use the same hand tools and rollers as the copper metal to create textural surface patterns into the leather.

For the rustic and weathered aesthetic of the cuff, I blacken and polish the copper metal, as well as dye the leather band. This is also when I water proof the leather, smooth out an rough spots, and polish both pieces for a low luster finish.

The leather is attached to the copper by a process called "cold joining". This is done by sawing copper tubing into small lengths, which are called rivets. I then saw a cross pattern into the rivets on both sides. This allows me to slide the rivets through each hole made in the copper and leather bands, and hammer the cross stitch down to keep the leather in place.


Here is what the piece looks like after the rivets are in place and the metal and leather have been joined.

Up until this point, I have been working with flat pieces of copper and leather, and once the pieces are joined I can now shape it on a bracelet mandrel. Using a rubber mallet I gently hammer the piece into an oval cuff shape.

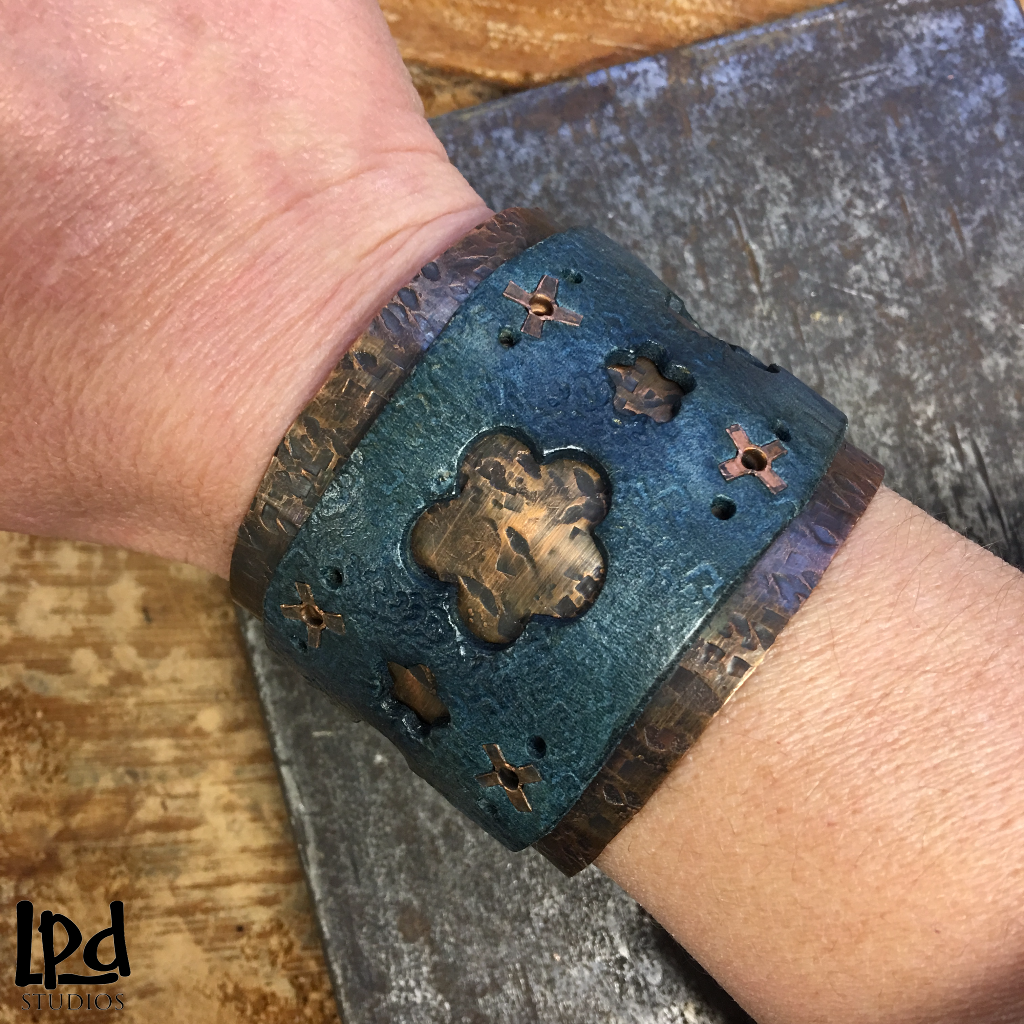
And here is the final product!! A one-of-a-kind Copper Leather Cuff with Floral Cut Out :)

Click here to see my full leather and metal cuff collection!