Looking to the Heavens
I have assembled a vignette of the design process for these beautiful Leather Star with Copper Moon Mini Star Earrings. Just Click on the You Tube Link.
Looking to the Heavens
I have assembled a vignette of the design process for these beautiful Leather Star with Copper Moon Mini Star Earrings. Just Click on the You Tube Link.


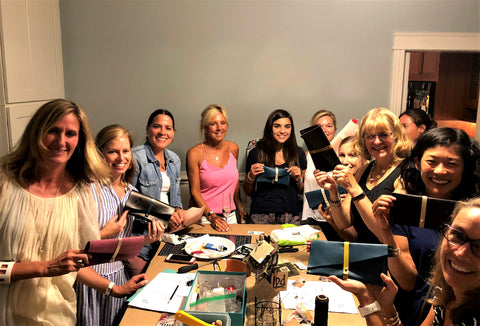
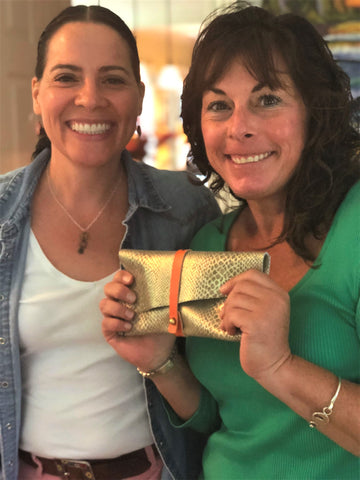
I had such a blast in Maine teaching my craft. So many thanks to Lynette and her family for hosting the event. I meet so many amazing people. My students always surprise me and create such beautiful pieces, take a look.
Leather Clutch Workshop

My Students

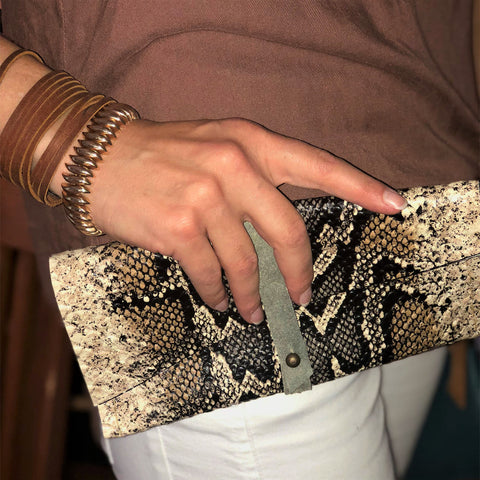
Beautiful Clutch

More Fabulous Student Work

Pop Up
Bracelets and Bangles

Pop Up
Gold Bronze Jewelry

Leather Wrap Bracelet Workshop

Student Work

So many fun memories of my time in Maine with my students. In the meantime, I will be planning some new workshops for next summer.
-See you Soon -Lisa


Click here to register for the class! It's held at the PA Guild of Craftsmen in Lancaster, PA on April 19, 2018 from 6 p.m. - 8 p.m.. The $35 class cost includes all materials, as well as a complimentary craft beer from Wacker Brewing Company!
Thank you for stopping by LPDstudios and I can't wait to see you in class!