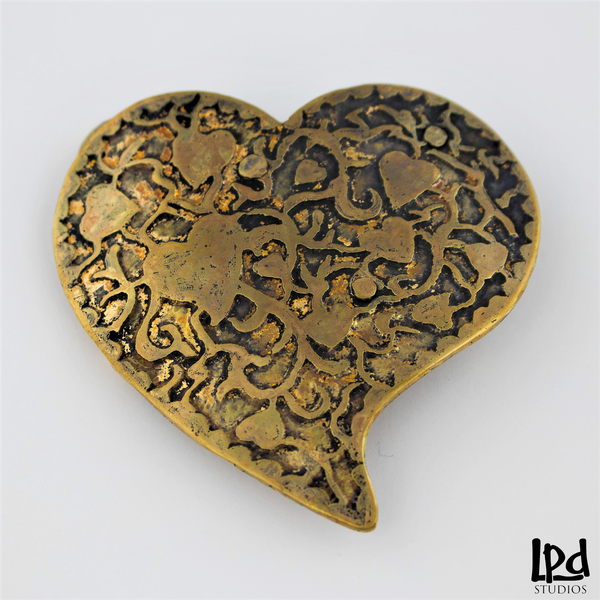
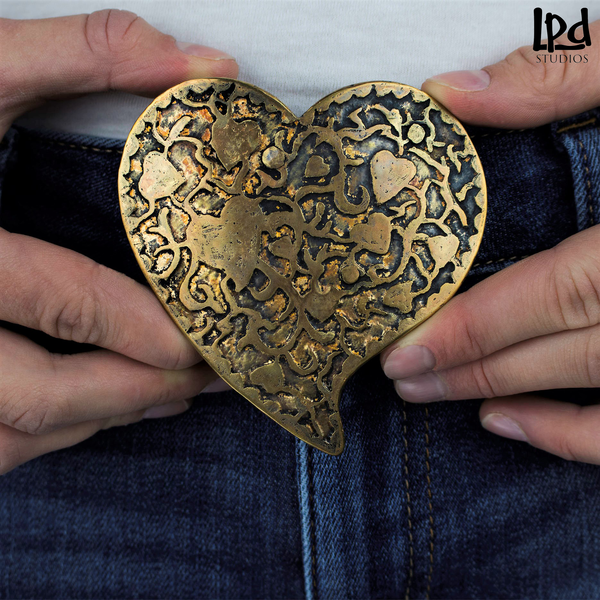
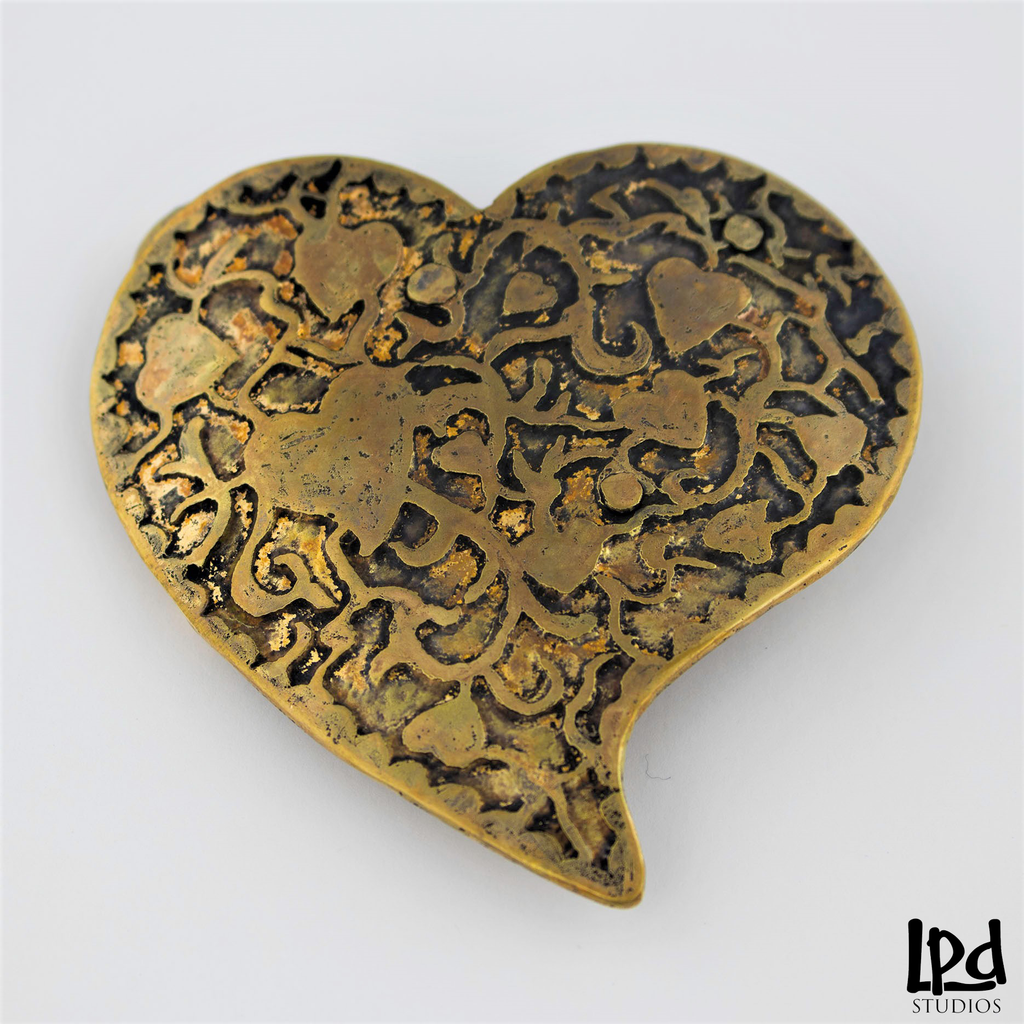
This week I'd like to share a behind the scenes sneak peek into a technique I have been using, called Saltwater Etching, to make my new Custom Brass Heart Belt Buckle with Etched Motif.
This type of etching uses a saltwater solution and small amounts of electricity to chemically alter the surface of an object. It's a relatively simple process that doesn't require harsh chemicals or expensive equipment.
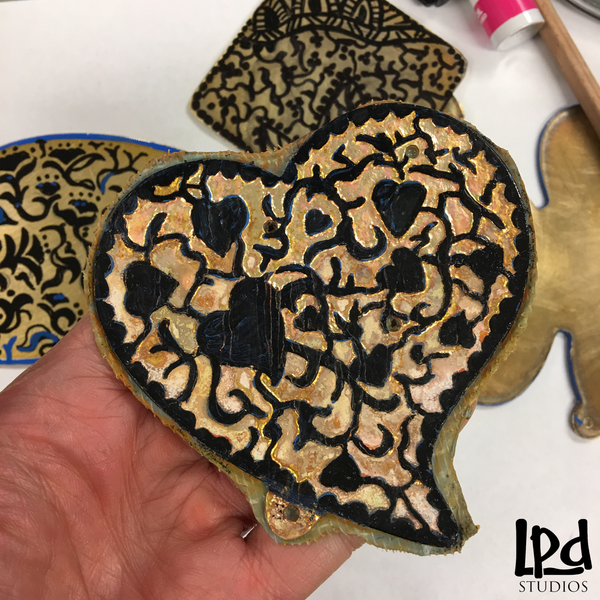
I start by shaping and sanding brass sheet metal for my base design. Once the shape is done, I use a fine tip Sharpie pen to draw a surface pattern design. The Sharpie acts as a blocking agent and prevents that part of the metal from being etched. I drew a vine-like design, and the black is the portion that won't be etched. I also line the back of the brass buckle with duct tape to ensure the back is protected during etching.
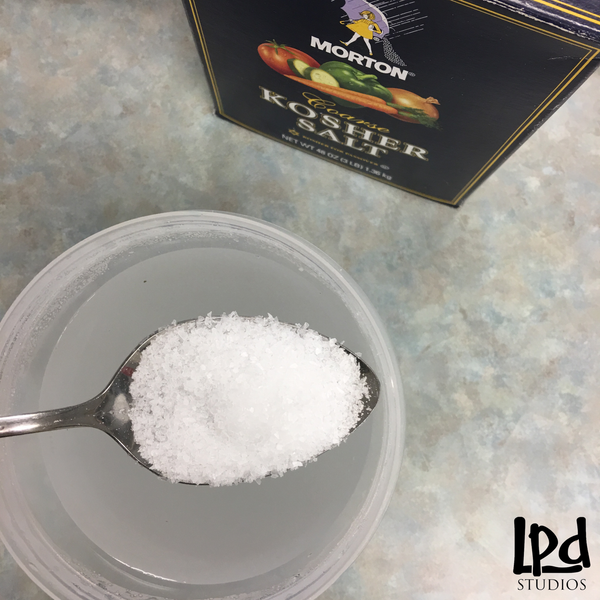
Once I have my pattern outlined, I mix the saltwater solution. All it is is distilled water and Kosher salt!! Kosher salt is recommended because it is free of iodine and fluoride that could potentially alter the reaction.
Now it's time for the chemistry experiment! For this step I need copper wire, a scrap piece of copper metal and a battery pack with alligator clips.
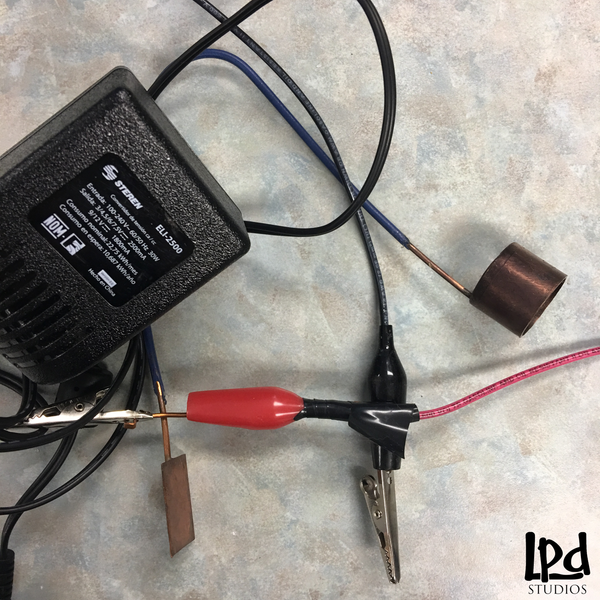
I hang my brass belt buckle from a copper wire and submerge it into the saturated saltwater solution. Then I take the second scrap piece of copper metal, hang it from copper wire and position it parallel to my belt buckle within the solution. Each piece of metal now has a long tail of copper wire that I attach the alligator clips and battery pack to.
I take the red (positive) side of the battery pack and attach it to my belt buckle copper wire, and attach the black (negative) side of the battery pack to the second piece of copper wire. Once the electrodes are in place, the chemical reaction begins and the brass metal starts to erode around from the black sharpie design.
As the brass metal deteriorates, the water turns brown from the eroded copper residue. I remove the heart belt buckle every 15 minutes or so to rinse off the residue build up and touch up my drawing.
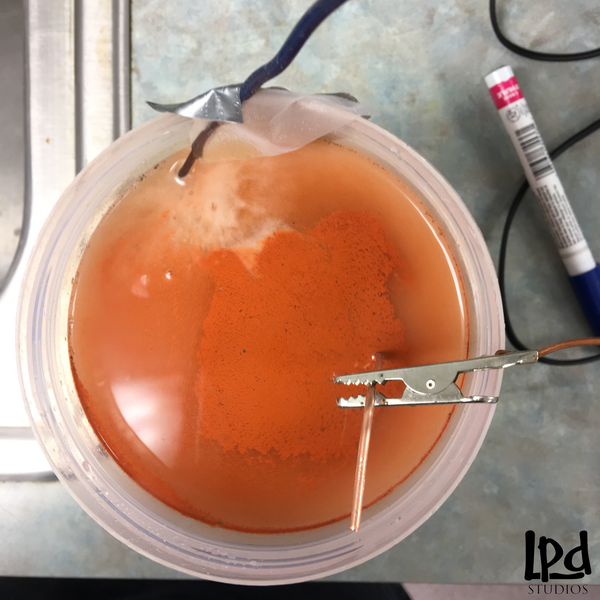
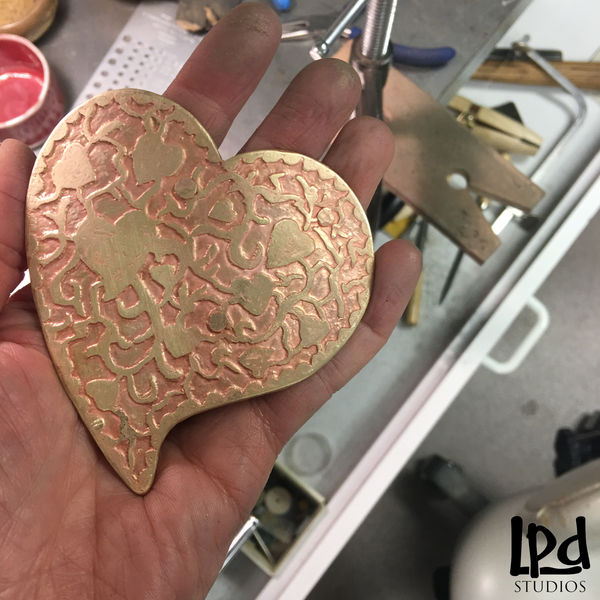
Once I am happy with the depth of the etching, I pull it out of the saltwater solution and clean it up! I use acetone to remove any residue and Sharpie pen marks still left on the belt buckle. Here you can see how the etching creates a relief pattern in the metal.
Next I need to build the pin tube that will be placed on the back of my belt buckle. Then a rectangle ring will slide through the pin tube to allow the leather belt to connect to the belt buckle.
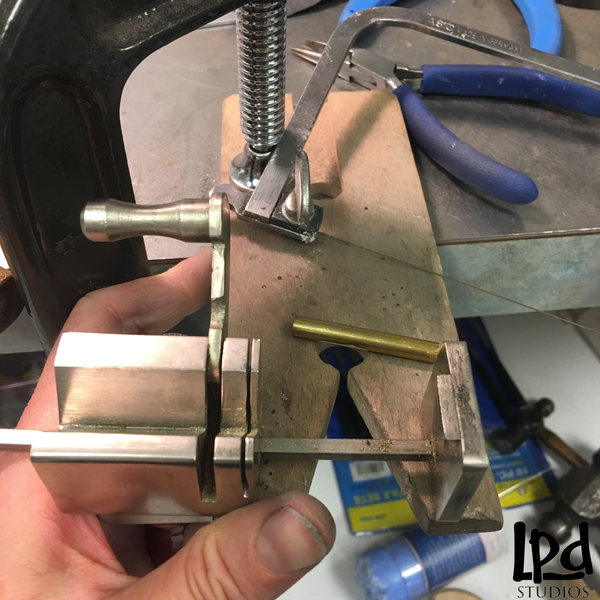
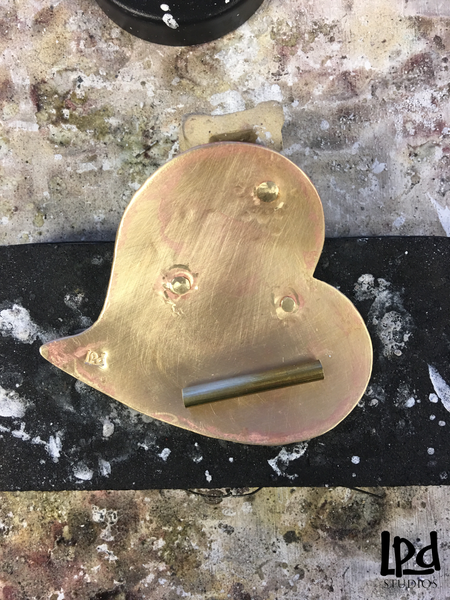
I position the pin tube in such a way that the heart will hang just right when you put it around your waist and solder it in place.
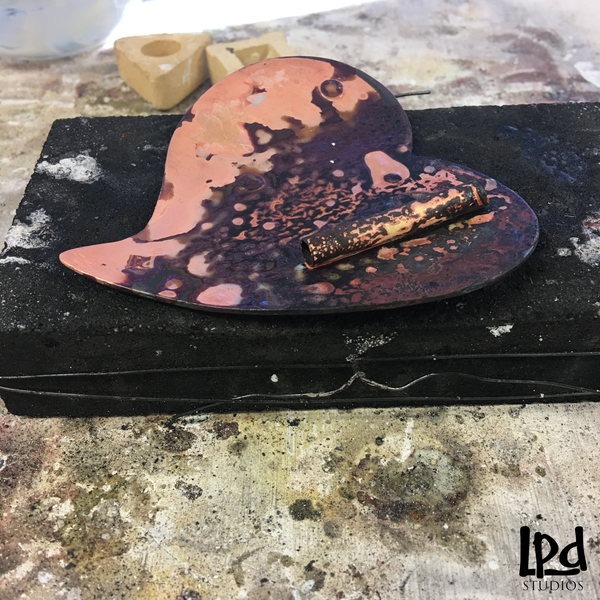
Because the brass heart belt buckle has a high content of copper, when the metal is heated it comes to the surface. The copper must be removed and polished off in order to see the brass finish again.
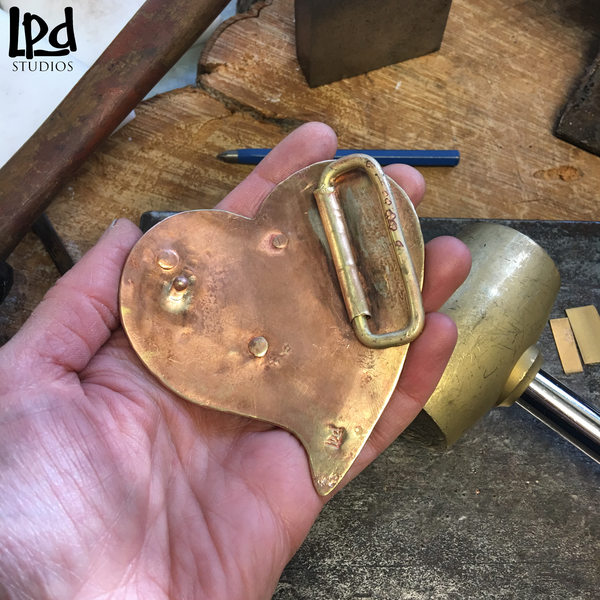
After all of the components are in place, I blacken the brass belt buckle to give it my signature LPDstudios look!
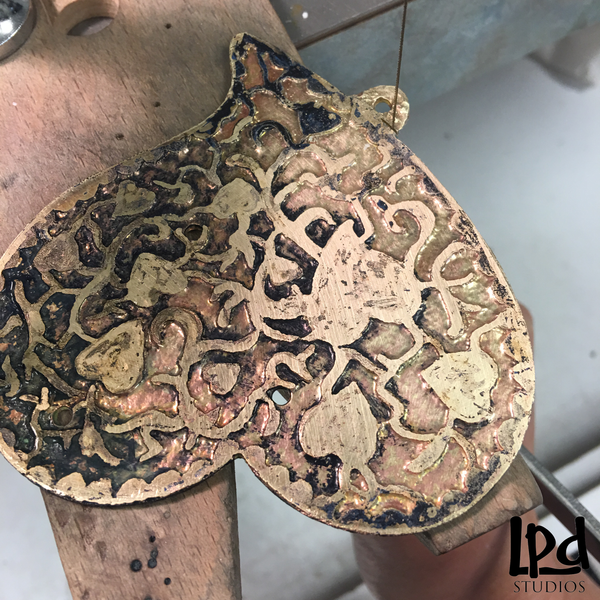
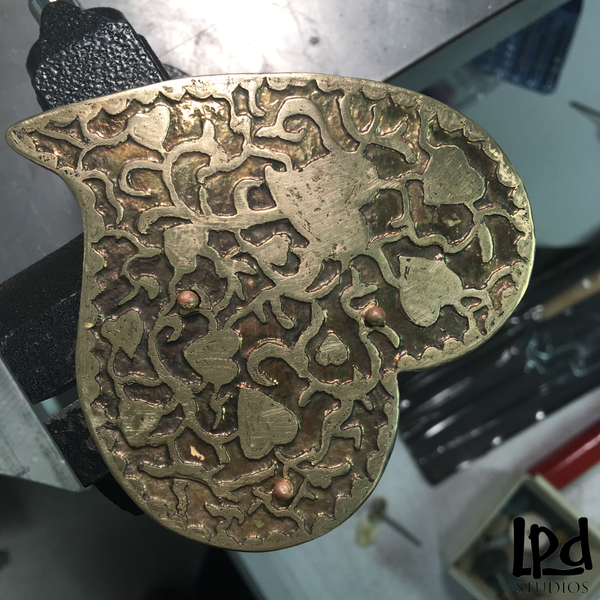
I love the way the blackened finish accentuates the relief look of the etching in the final belt buckle.
If you are interested in trying saltwater etching at home, I highly recommend this YouTube video! She breaks down the steps in an easy to follow guide.
Stop by LPDstudios to see what else I'm exploring in the studio!

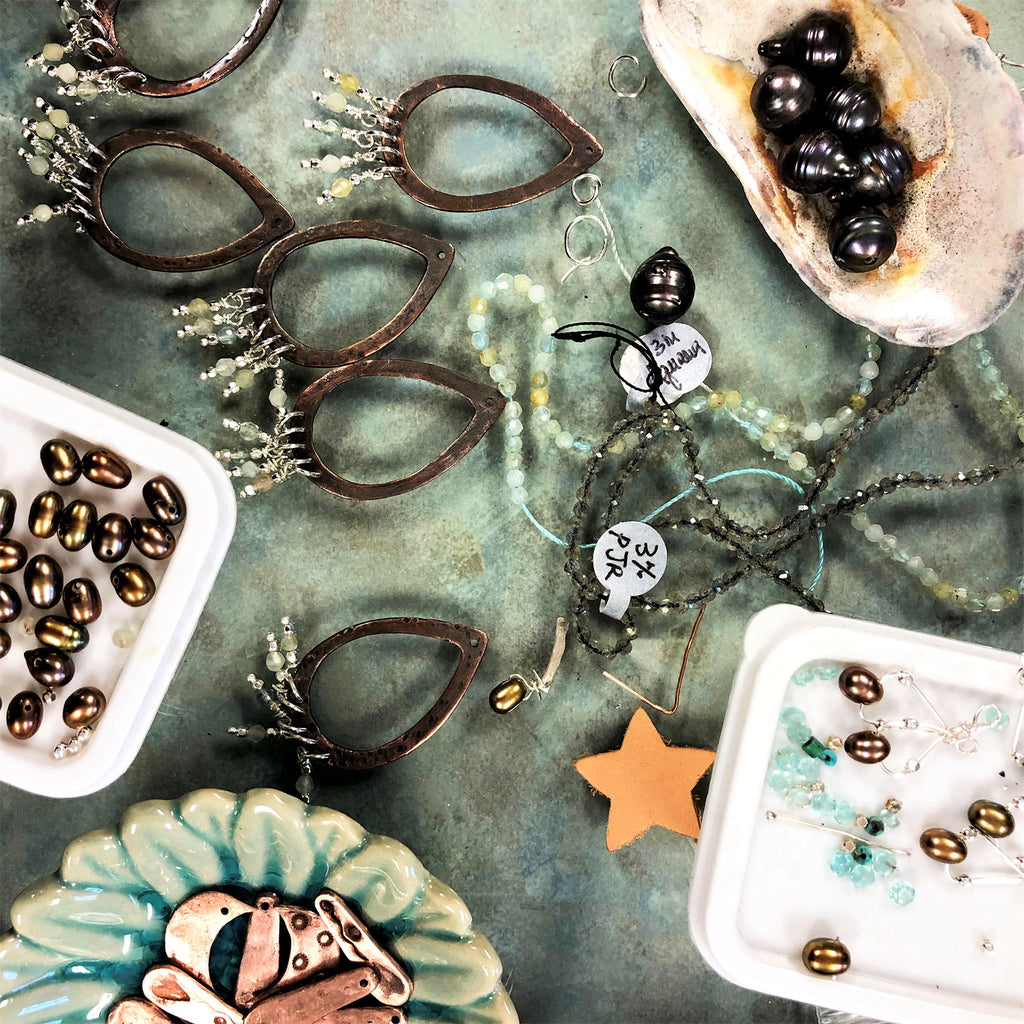

 The iridescent green fresh water pearls are just gorgeous and will compliment my copper and hand painted leather pieces.

